What if you could build a flight tracker all by yourself? For just a few bucks? And help a community of flight trackers at the same time?
This tutorial guides you through building your own flight tracker aka “feeder” based on a Raspberry Pi. It also demonstrates how to upload the tracking data to ADS-B Exchange, a global platform to share flight tracker data.
Come aboard and enjoy the flight. On behalf of Air Frightanic captain Marcel and his crew wishes you pleasant DIY time.

Shopping list
Tick off the following shopping list to build a solid, high-quality, outdoor flight tracker ready for all weather conditions. You could take short-cuts i.e. opt for cheaper components but I advise against it. There is a detailed shopping list in Appendix A (same items but with explanations).
Total costs: less than $180
Some items are must-have while others depend on how you power the device and what network backhaul you choose (WiFi vs. cable). For my tracker I pulled a single weather-proof ethernet cable to the roof to feed the device with power-over-ethernet (PoE). You could just as well use WiFi and power it through USB or solar.
- Raspberry Pi 3B or 3B+ or 4 – $40-60
- Micro SD Card, 8GB+ – $5, make sure you have a reader for that or get a regular-to-micro SD card adapter, opt for high-quality brands and class-10 cards
- FlightAware Pro Stick Plus, ADS-B USB Receiver – $20
- FlightAware 1090 MHz ADS-B Antenna – $40
- Antenna cable, 3.5m – $15
- IP65 enclosure – $15
- Pressure vent aka vent plug aka protective vent aka Gore vent – $5, absolutely essential but hard to source in small quantities, do NOT skip this if you place the tracker outdoor
What you might need:
- Power over Ethernet kit – $20
- Waterproof Ethernet cable gland – $10
- Short slim-line cat5 patch cable (PoE to Raspberry Pi) – $10
- Power adapter for the Raspberry Pi, USB-C for the Pi 4 or micro-USB for the Pi 3
Prepare the flight tracker software
Once you sourced all the parts you probably want to assemble the flight tracker hardware right away.
Wait!
Resist!
As much as you would like to start assembling the components it is more effective if you start with the software.
Install the Raspberry Pi operating system
Installing a/the Raspberry Pi operating system onto the SD card is much less daunting then it might sound. In fact the process is a lot easier than what you might be familiar with installing Windows, macOS or Linux. Let’s get right to it.
- Download and install Balena Etcher, a tool to transfer an operating system image into a memory card.
- Download the latest version of HypriotOS. Unzip the file.
- Insert the SD cart into the card reader of your PC or Mac.
- Start Etcher
- In Etcher: select the unzipped HypriotOS .img file, select the drive into which you inserted the SD card, hit Flash!
A note on HypriotOS
The reason for not using the “default” Raspberry Pi OS Raspian but HypriotOS instead is the latter’s excellent support for running Docker containers. Fear not if the term “Docker” doesn’t ring a bell. All you need to know is A) that it greatly simplifies your life running different components on Raspberry Pi (and lots of other systems) and B) that you will run several ready-made Docker containers each encapsulating just the stuff it needs. If you are interest to learn more check out the Docker primer on the Hypriot site.
Configure the flight tracker software
At this point you have “installed” – or rather copied actually – the Raspberry Pi operating system HypriotOS onto the SD card. It’s now time to startup your Pi and configure the flight tracker software. For this tutorial I assume you connected the Pi to your network through an Ethernet cable. To learn how to use WiFi see Appendix B.
We will be working on the command line from here on as HypriotOS does not have a graphical user interface. Don’t worry if the CLI is not your home turf. You can copy-paste commands from here.
Insert the SD card into the Pi and power it up.
Connect to Raspberry Pi
The HypriotOS starts with a default hostname black-pearl and has a single user pirate with password hypriot configured. Hence, to connect to it over SSH from the command line/terminal/console you type
$ ssh pirate@black-pearl.local
Thanks to the Avahi (Zeroconf, mDNS) service discovery daemon running on HypriotOS you should be able to reliable connect by hostname rather than having to find out the Pi’s IP address. You should see something like this after login:
Start flight tracker Docker containers
If you follow your average build-something-with-software tutorial you will sooner or later start one or several setup or install scripts. Not so with Docker. All we will do is to tell Docker to download (aka pull) three existing images – two from yours truly – and start a container for each image with some specific parameters.
You could configure and start each container individually, this is documented at https://github.com/jeanralphaviles/dump1090-docker. However, we will run all at once with Docker Compose. The whole magic consists of three steps:
- download a ready-made
docker-compose.yamlfile onto your Pi - adjust a few values in that file to uniquely identify your flight tracker
- tell Docker Compose to start the containers defined in your file
Each of the commands below maps to a step in the list above. Execute one after the other after you log into your Pi.
$ wget https://raw.githubusercontent.com/marcelstoer/docker-adsbexchange/master/docker-compose.yaml
$ nano docker-compose.yaml
$ docker-compose up -d
In step 2 you need to replace the **/XX values in the file with your specific values. The last step will take some time to complete as Docker has to first download the three images it will start containers for. Here’s a brief description of them and their responsibilities.
- dump1090: does the heavy lifting, acquires the ADS-B signals from the USB receiver
- adsbexchange-feed: gets data from the dump1090 container, sends “beast” tracking data to ADS-B Exchange
- adsbexchange-mlat: gets data from the dump1090 container, allows to track planes that don’t have ADS-B yet, MLAT works by overlaying tracking data from multiple stations using multilateration (happens after you upload the data to ADS-B Exchange)
Once Docker finishes you can type docker ps or docker stats to get some information about the three running containers. Congratulations, your flight tracker software is ready! You now need to shutdown your Pi and start assembling the hardware.
$ docker stop
$ sudo poweroff
Assemble the flight tracker hardware
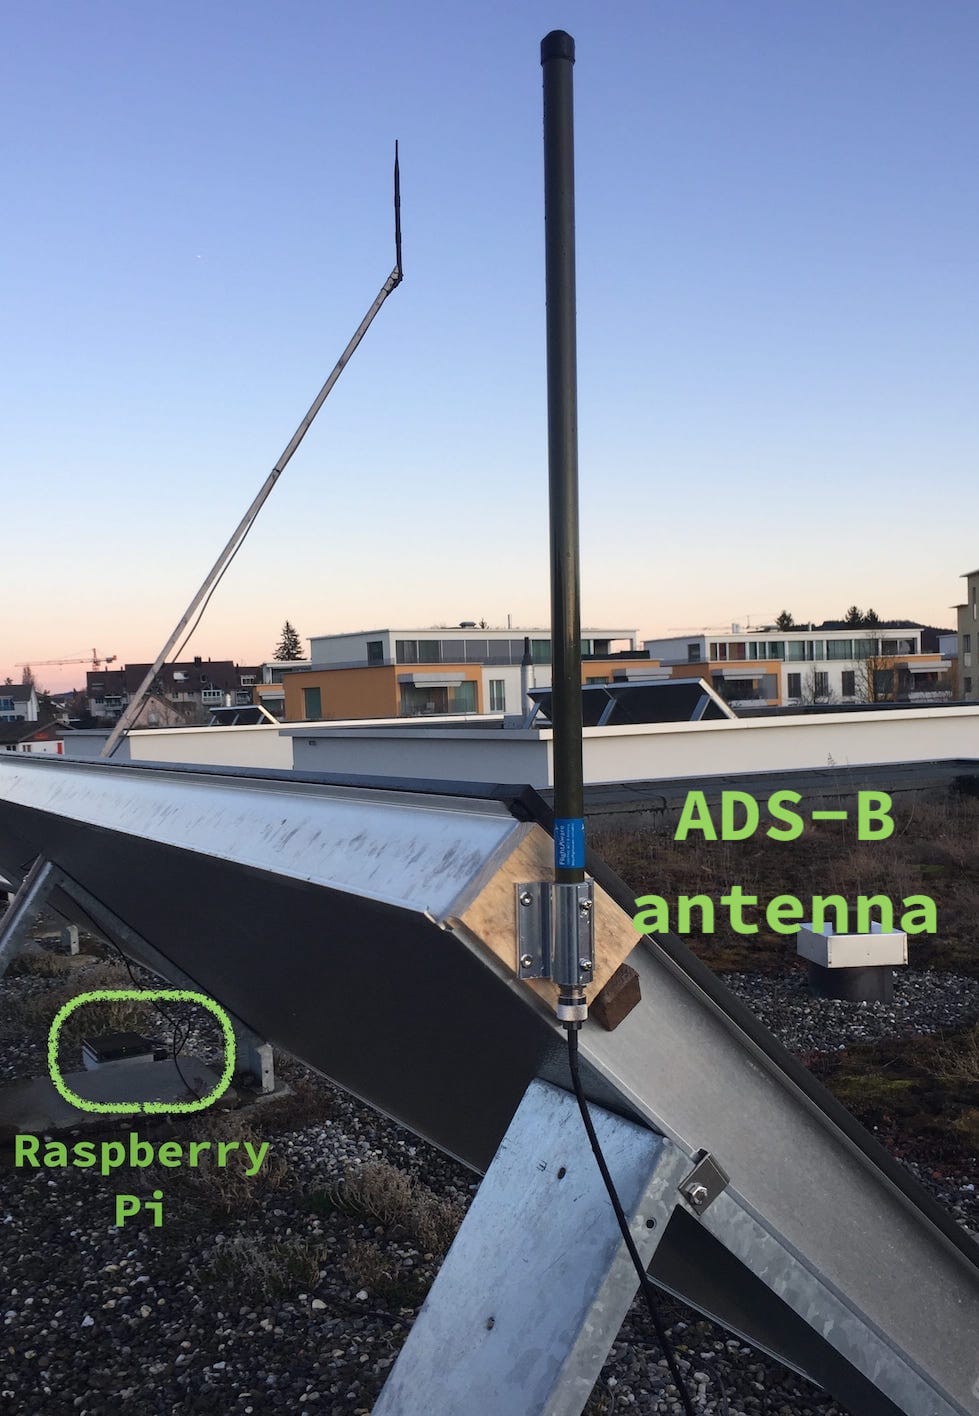
If you are anything like me then assembling the flight tracker is the most fun part with this project. Unfortunately, it is also the one step I can give you the least guidance for. Power supply and networking back-haul (WiFi/Ethernet) may be different with your setup. I can share how my tracker eventually looked like and hope you can deduce enough information from that to assemble yours in a similar fashion.
In my setup the Raspberry Pi serves both as a flight tracker and as a LoRaWAN gateway for The Things Network. In the photo left and below you see the Pi hidden beneath two PCBs required for the gateway. I screwed the ADS-B USB receiver tight and then plugged the Pi into the stick without an extra USB cable in between. Whether that’s an option for you largely depends on how large your enclosure is.
Here are two more photos of my tracker setup.

Appendix A: detailed shopping list
Raspberry Pi 3 / 4 Model B or B+
While you could use a Raspberry Pi 2 using the Raspberry Pi 3B or 3B+ or 4 gives you greater flexibility as they have built-in WiFi. If you mount it somewhere outside, WiFi may come very handy. If you use WiFi choose the 2.4GHz WiFi as it has greater range than 5GHz. The associated lower throughput is negligible for this application.
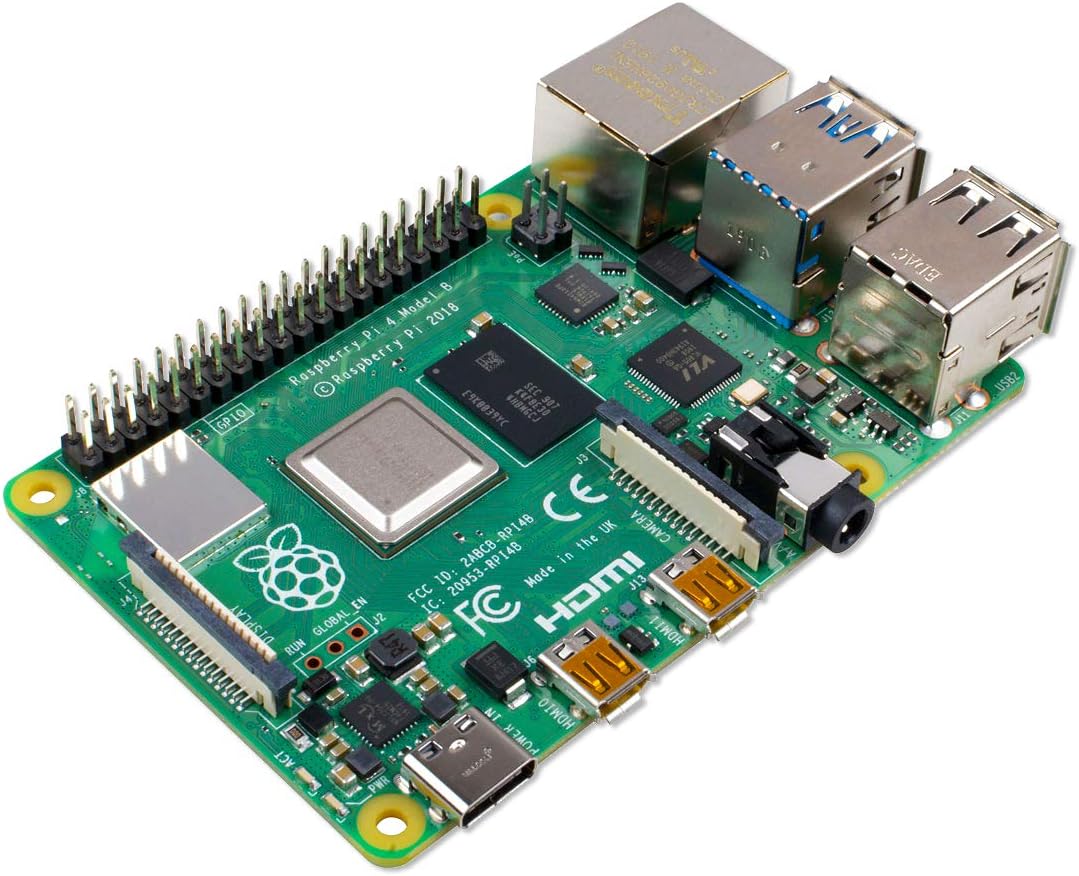
Source: Amazon $40-$60, your local Pi shop
FlightAware Pro Stick Plus, ADS-B USB Receiver
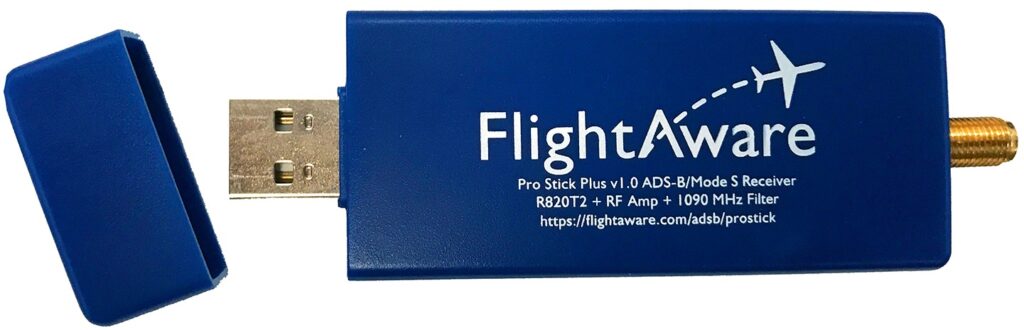
FlightAware Pro Stick Plus is an ADS-B USB receiver. As such it belongs to the family of SDR receivers. It allows to acquire RF signals, sample a particular band to the digital domain, and then hand it over to your CPU to decode the acquired raw data into something meaningful.
You can buy general-purpose SDR receivers that cover a large frequency range (e.g. 500 kHz – 1.7 GHz) for a few bucks. However, a signal on frequency band A may negatively impact the the quality of reception of signals on frequency band B. This may be acceptable in some cases. But…
For single-purpose applications which rely on signals on a specific frequency you will want to filter
Source: Amazon $20, FlightAware
Appendix B: configuring HypriotOS
tbd